
前言
Vue打包至移动端目前已经有许多解决方案,例如HBuilder、Cordova等等。但个人认为过程实在是太过于繁杂,且有的还需要联网验证,于是有了这篇文章。原理就是利用原生Android WebView本地加载Vue打包后的静态HTML,本文章以Android为例,使用Android Studio本地打包,IOS端同理。
准备
工具:Android Studio
源码:npm run build之后的静态资源,例如dist文件夹
步骤
1. 打开Android Studio
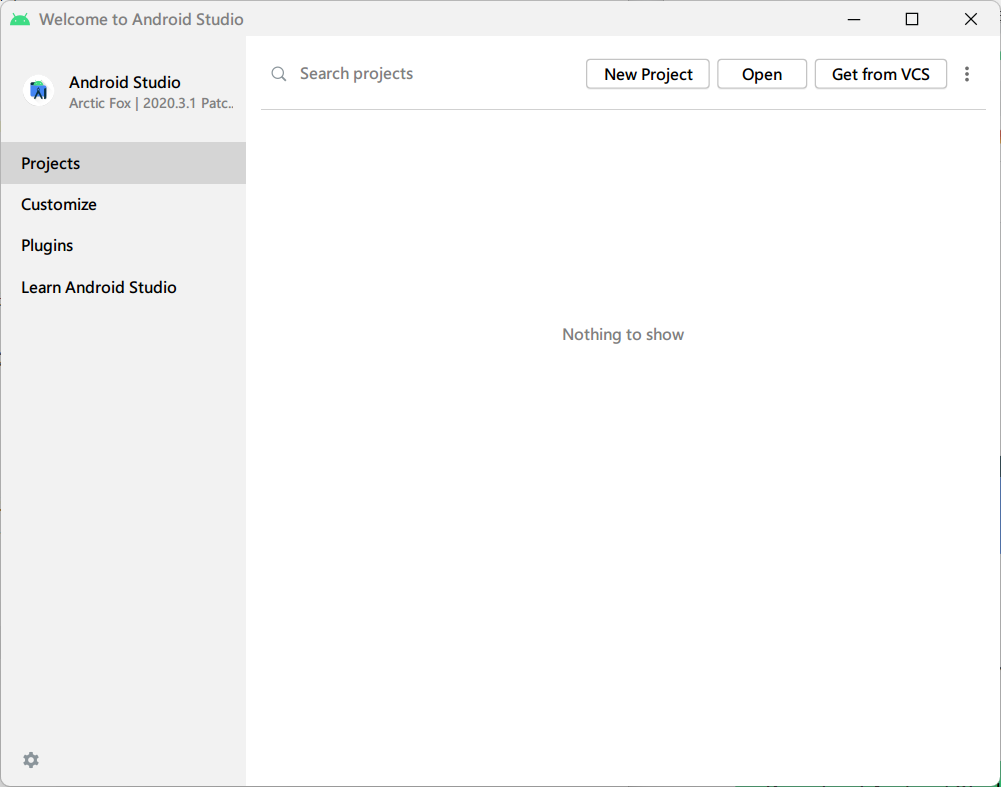
2. 新建项目 New Project - Empty Activity - Next
填写Name(应用名称)、Package Name(包名)、Language(以Kotlin为例)、Minimum SDK(应用支持的最低Android版本),然后点击Finish创建项目。初次安装AS并创建项目需要联网下载Gradle等依赖,请耐心等待。

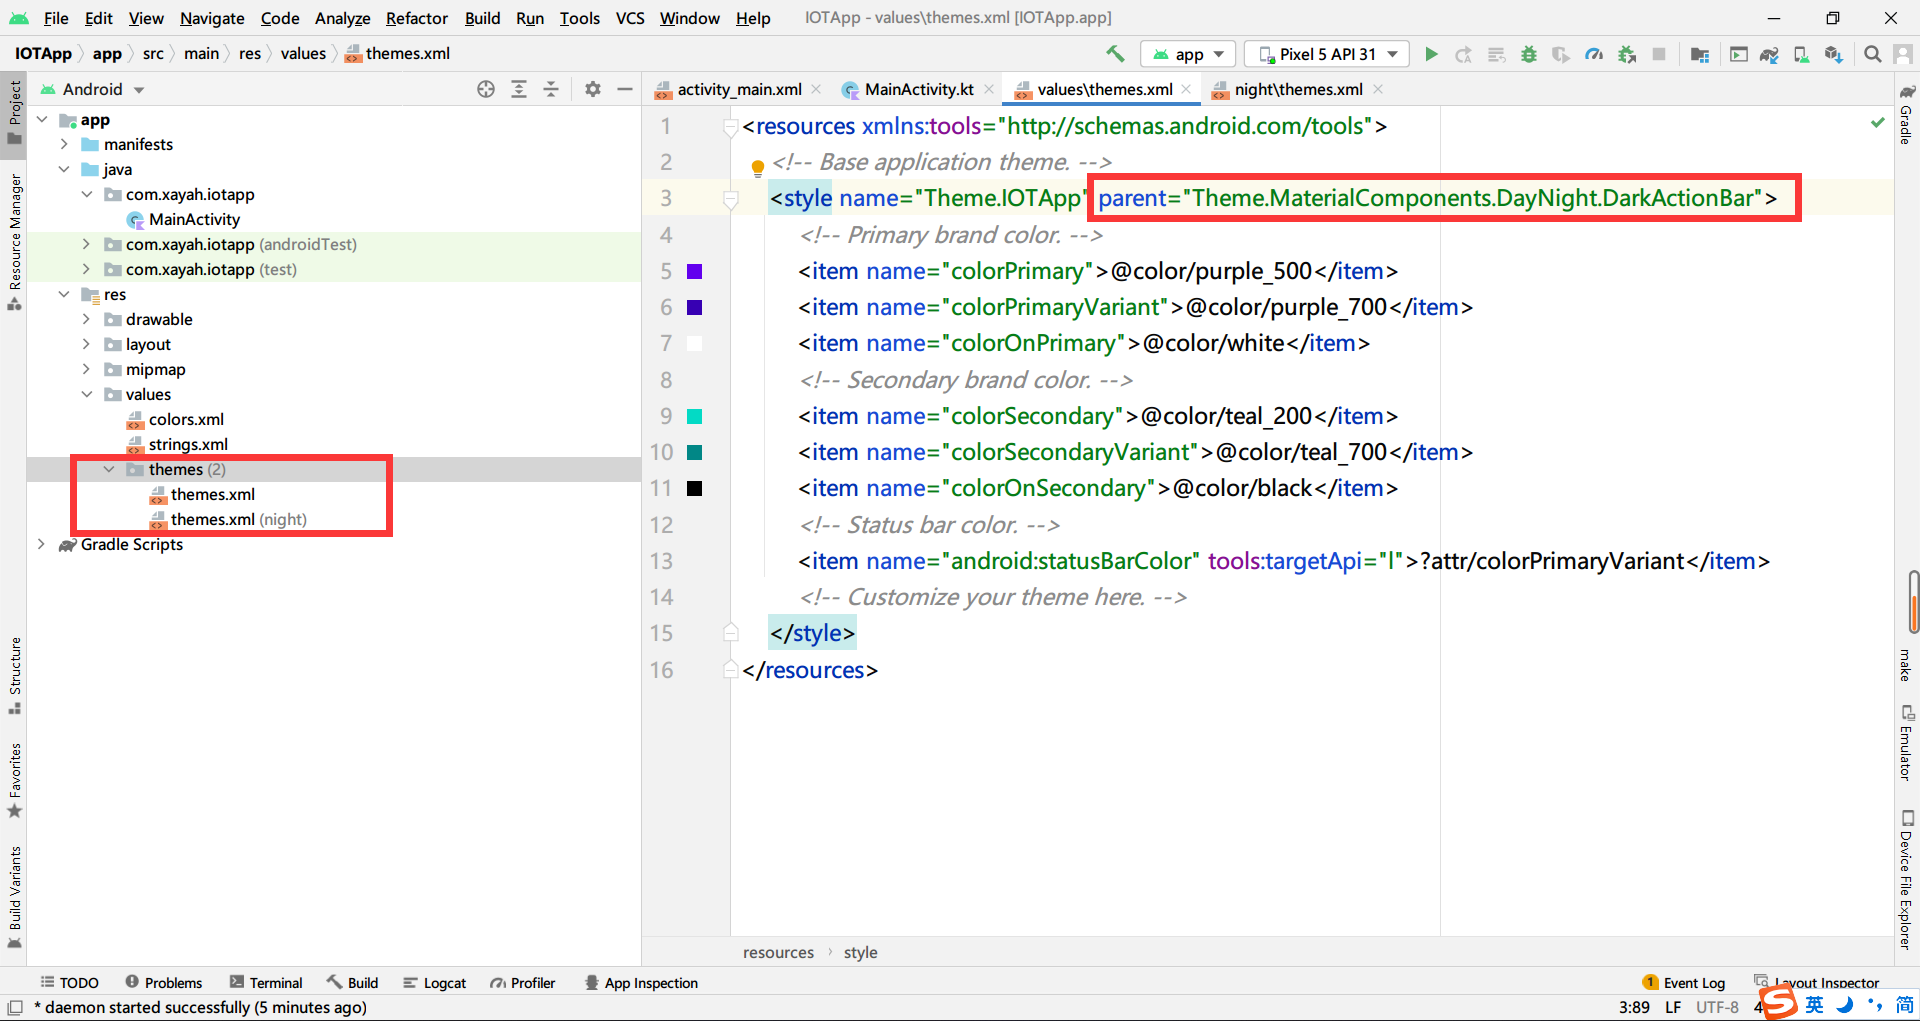
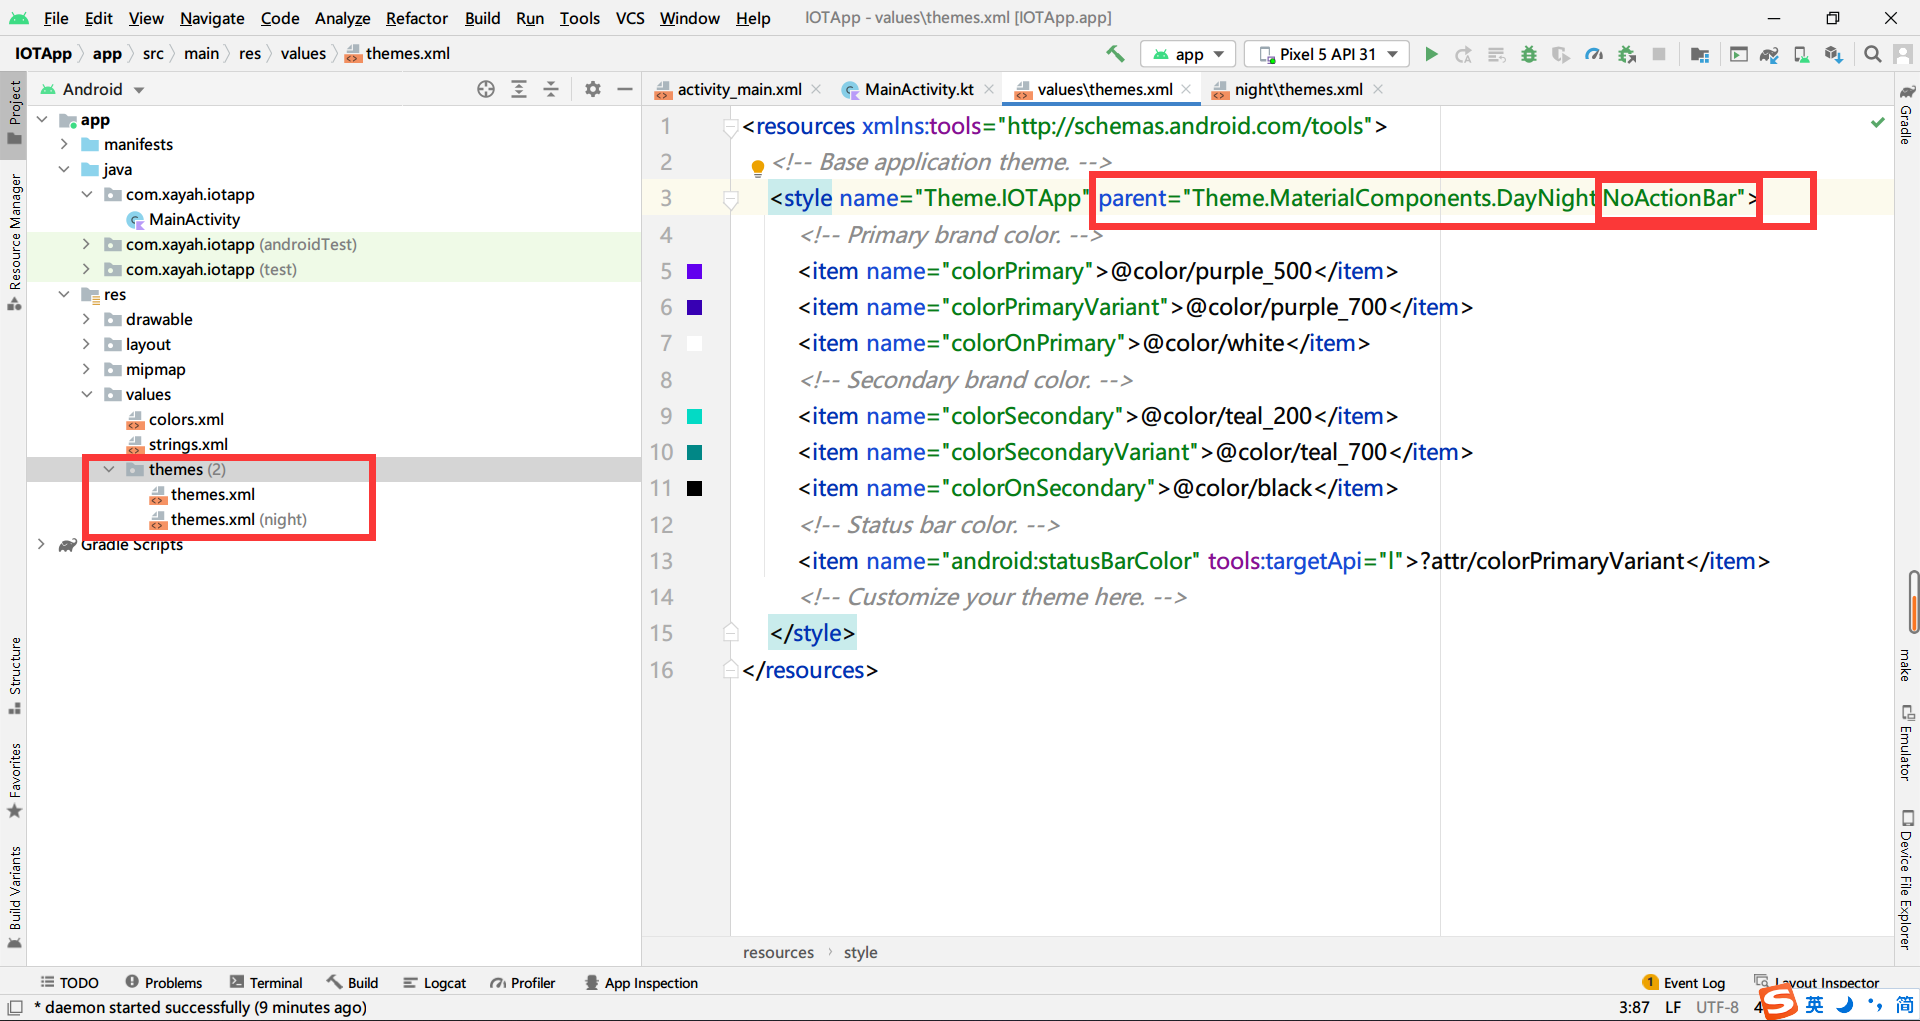
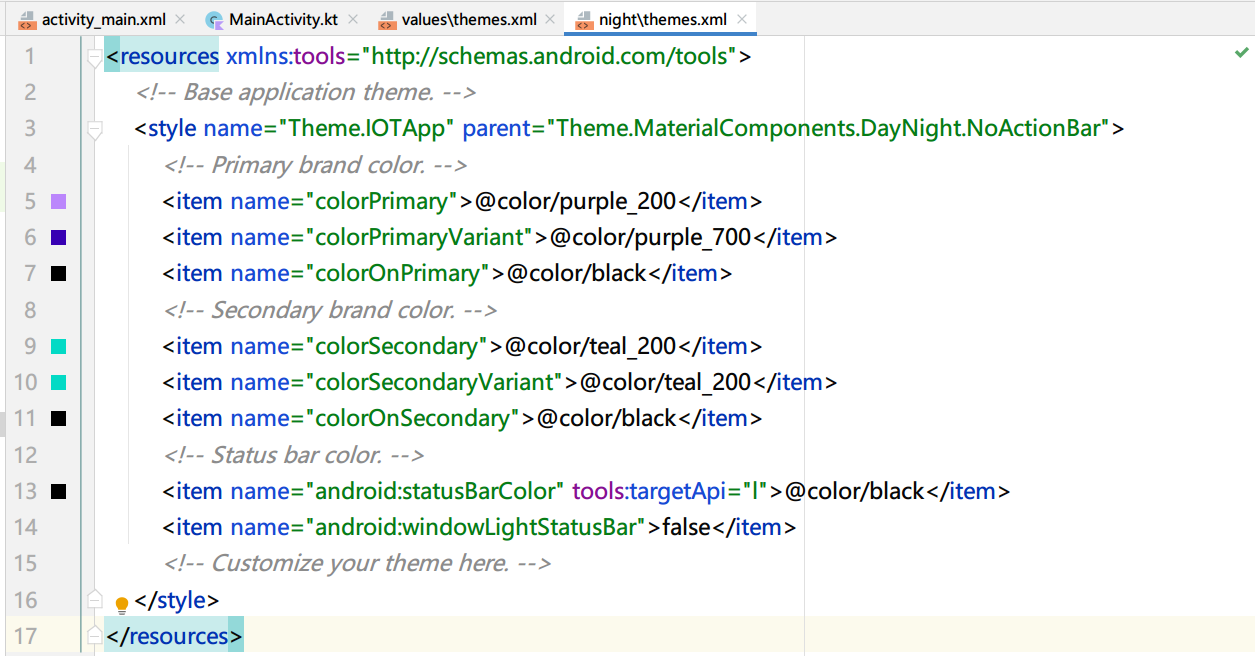
3. 主题设置为NoActionBar
默认主题会有一个ActionBar,需要去掉以保证加载后的Vue UI统一性。
首先在左侧打开themes下的两个主题文件,其中一个是深色模式的主题,我们需要将两个都改为NoActionBar。这里以浅色模式为例。
↓
4. 设置状态栏背景颜色
同样,在浅色模式主题文件中,修改android:statusBarColor为你想要的颜色,并将状态栏文字图标等设为深色
1 | <item name="android:windowLightStatusBar">true</item> |
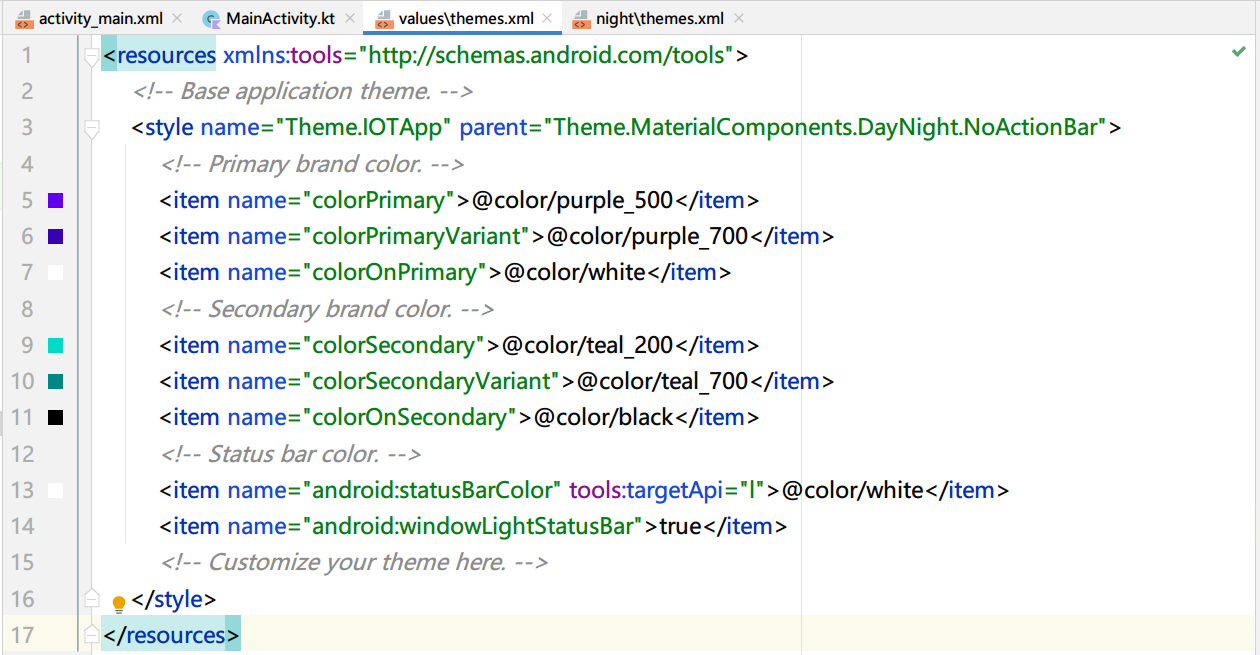
深色模式同理。
5. 布局添加WebView
打开activity_main.xml:
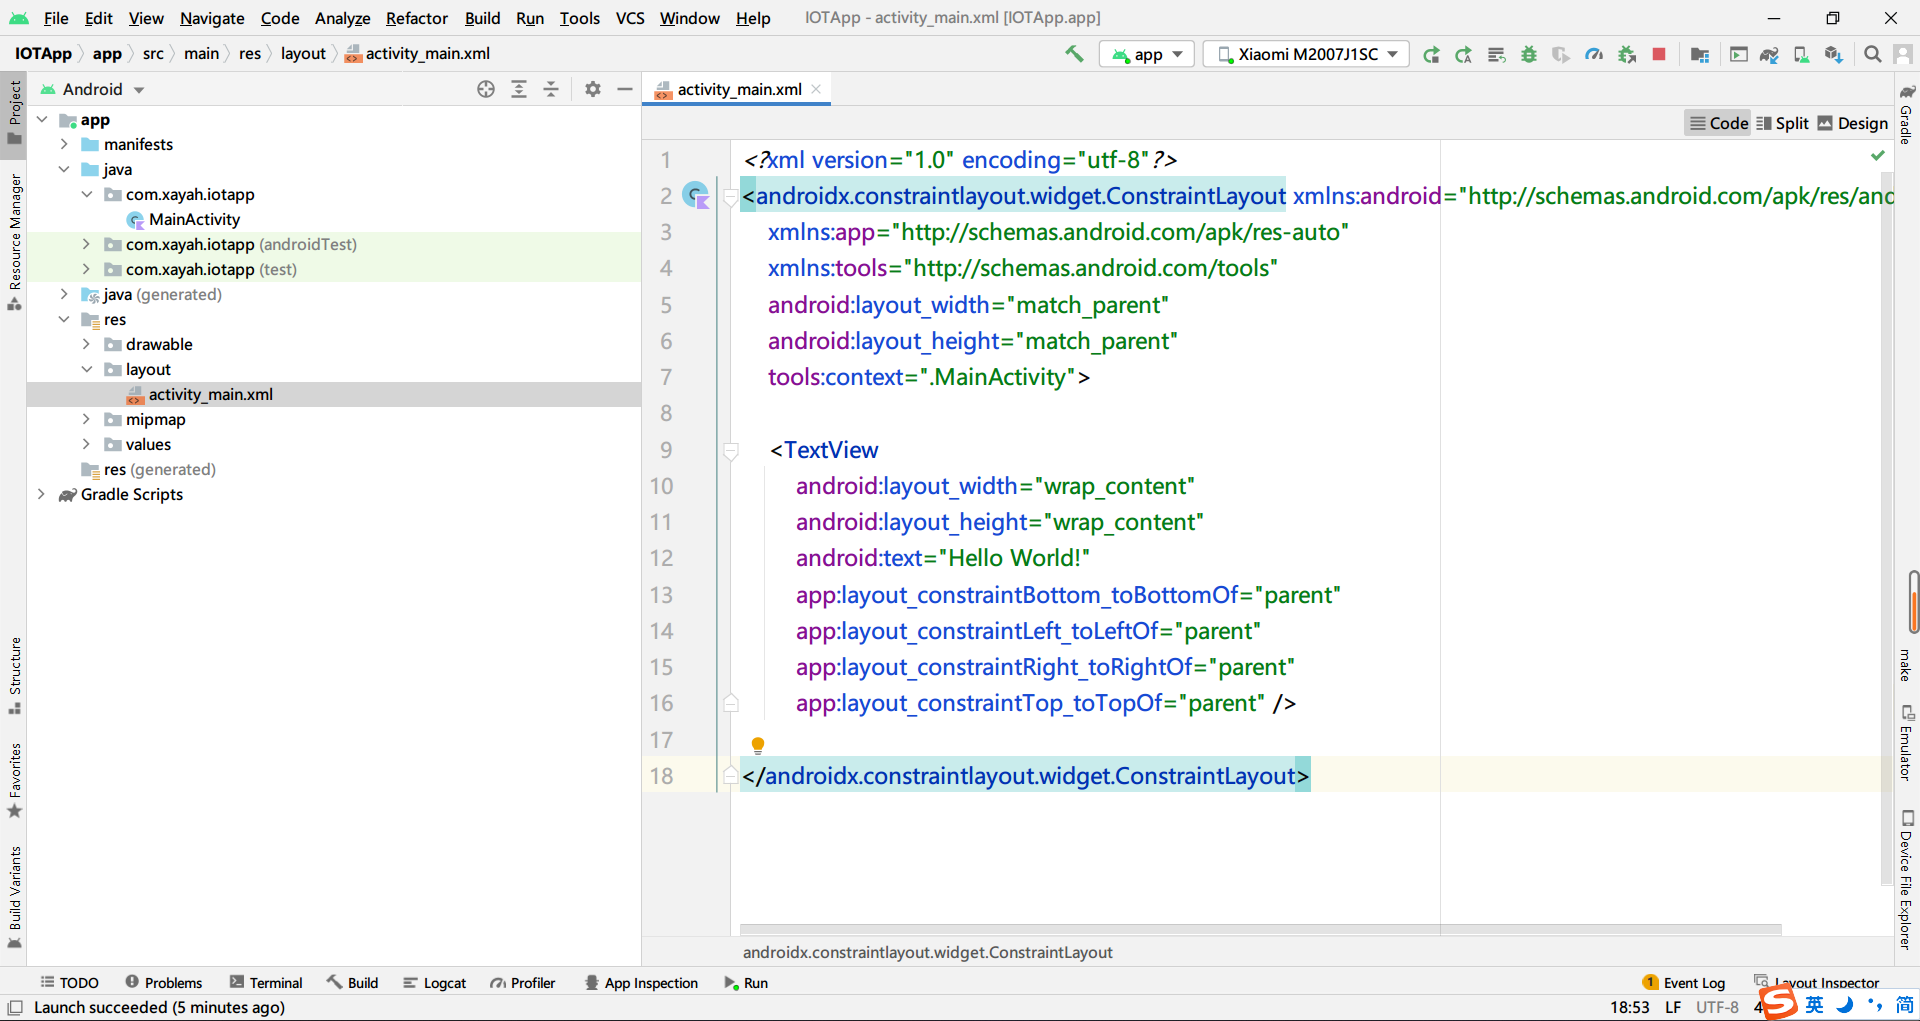
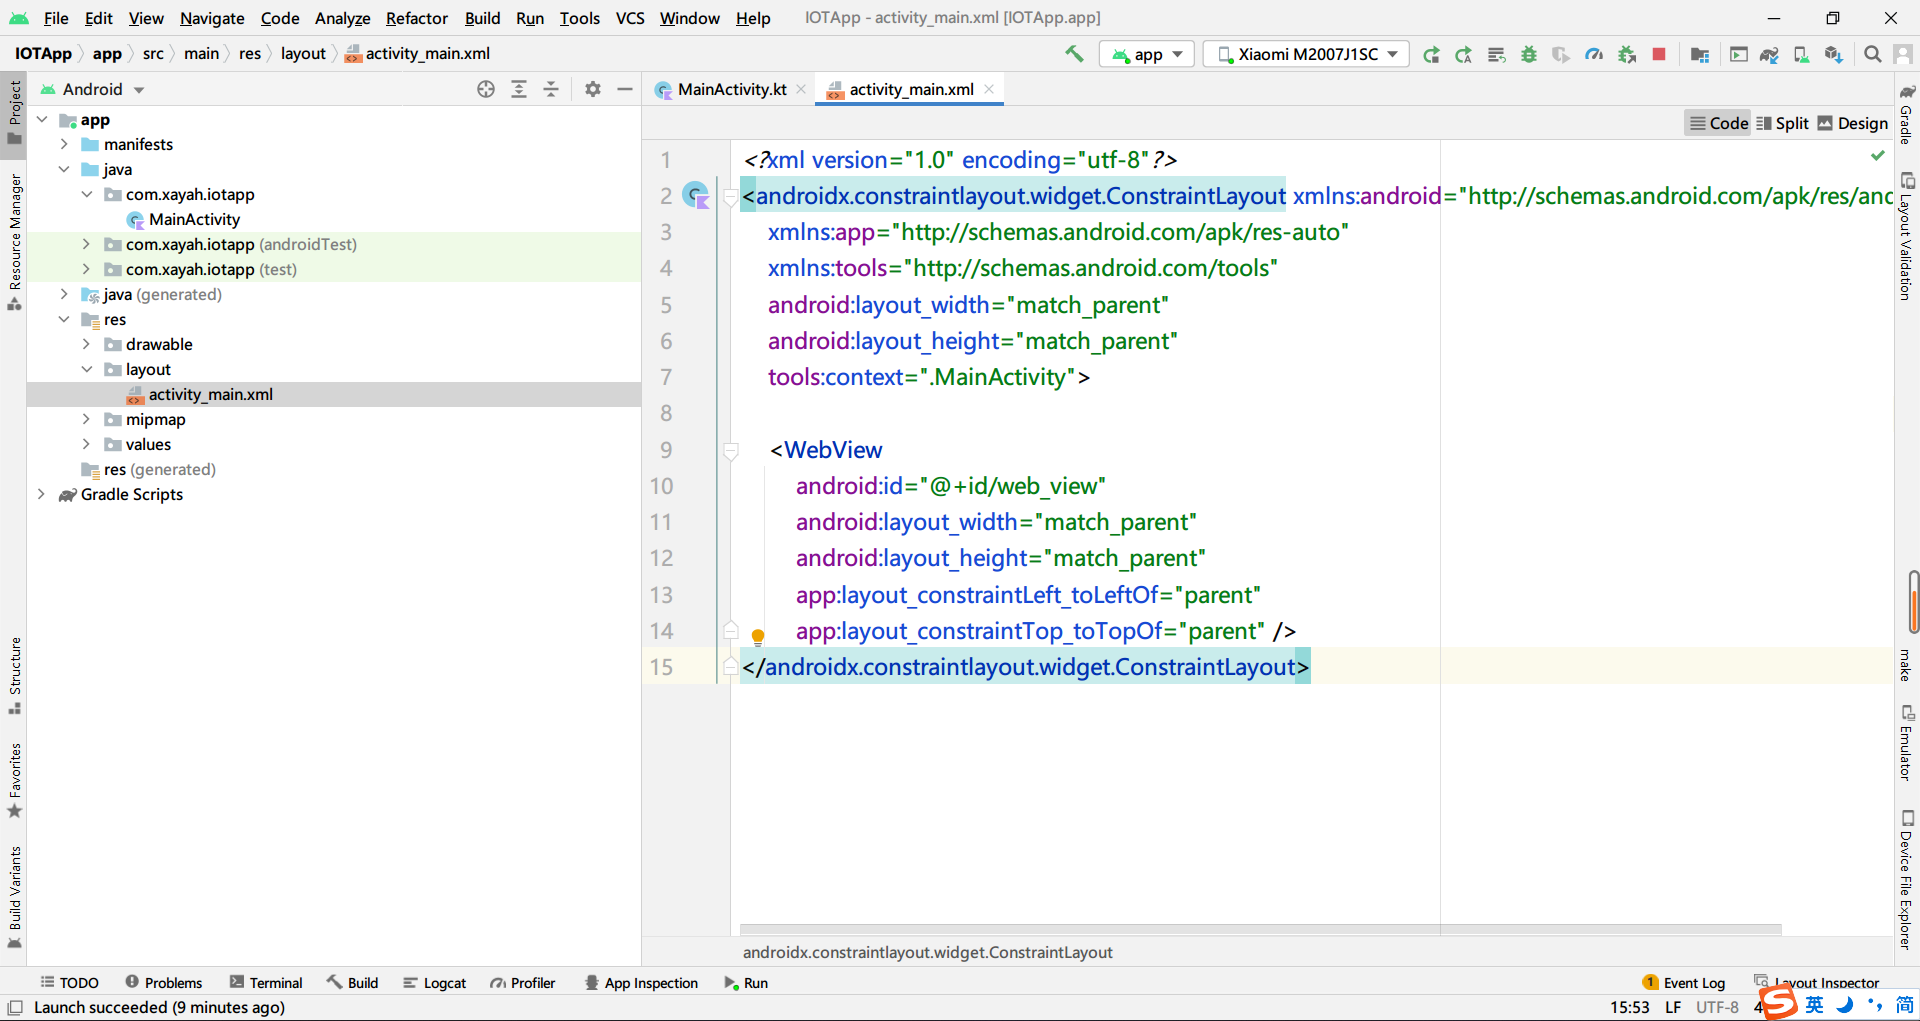
删除TextView并添加WebView:
1 | <WebView |
6. 本地加载打包后的HTML
在项目目录下app\src\main创建assets文件夹,将打包后的dist放入assets:

打开MainActivity.kt
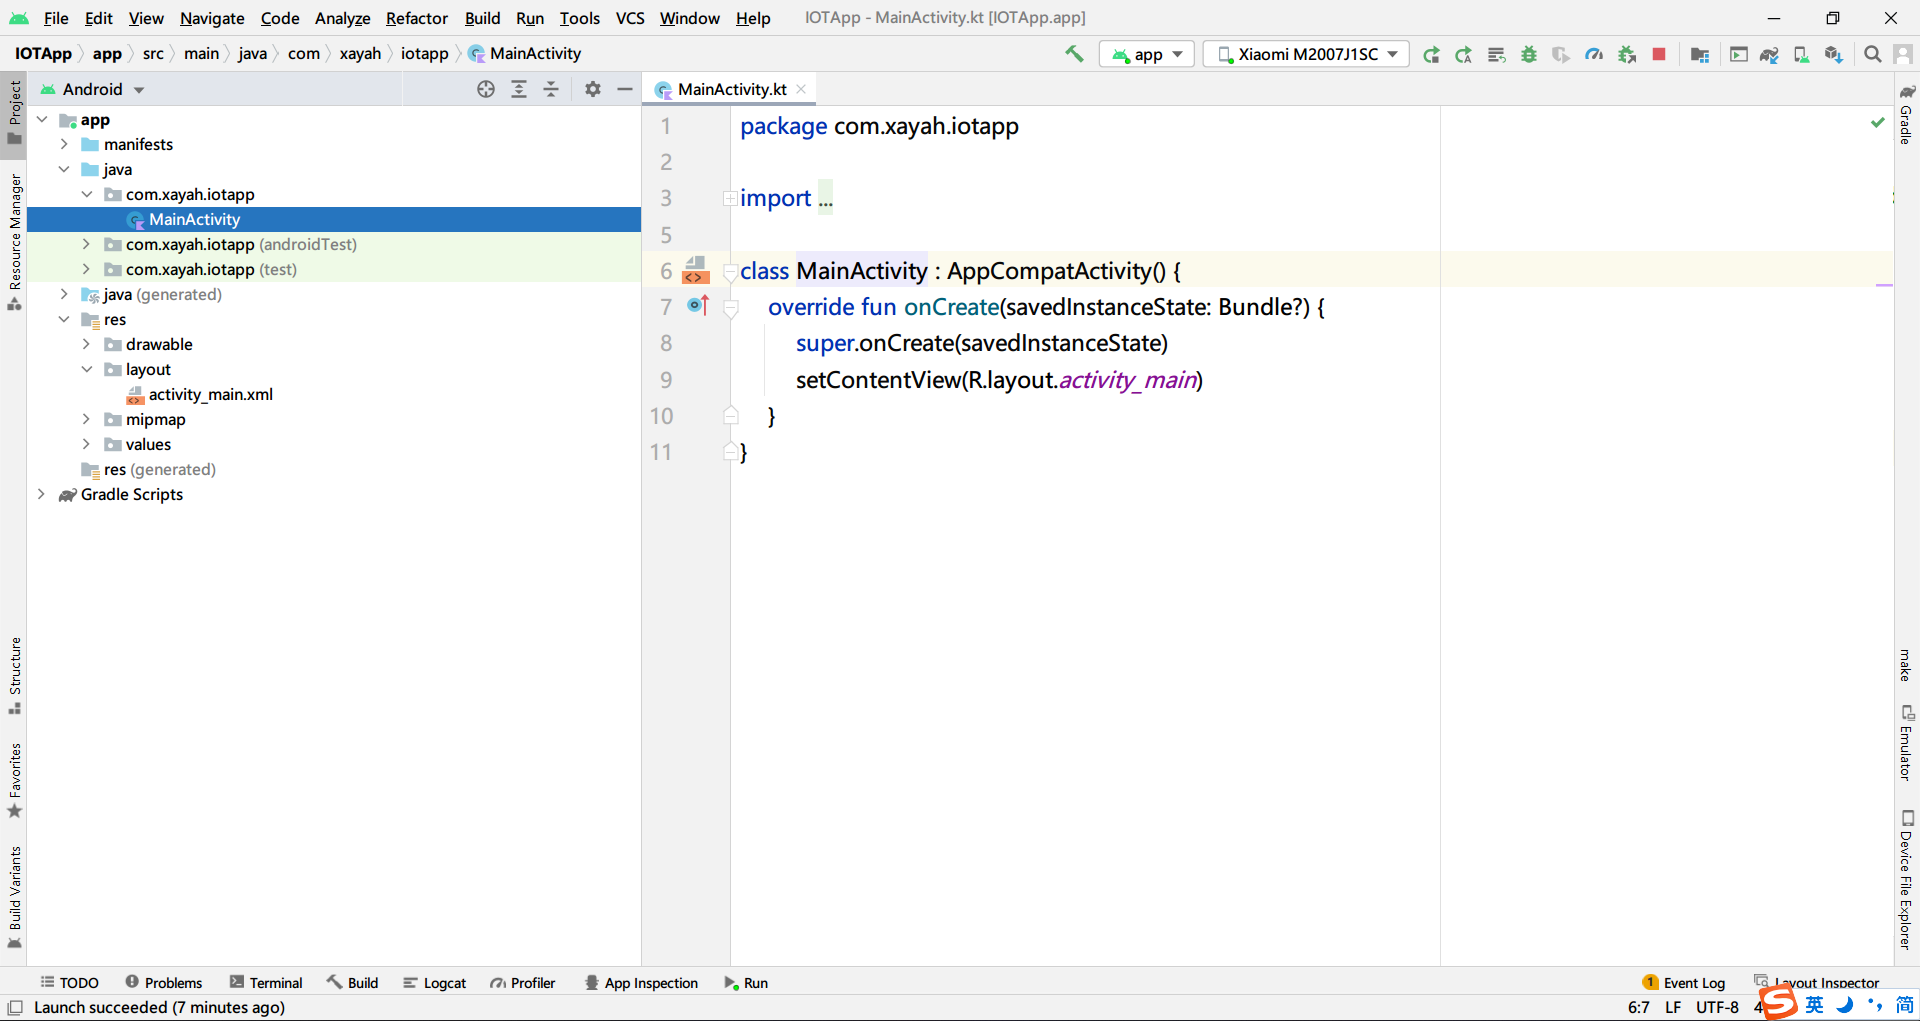
绑定组件:
1 | val webView: WebView = findViewById(R.id.web_view) |
本地加载HTML:
1 | webView.loadUrl("file:////android_asset/dist/index.html") |
允许JS交互:
1 | webView.settings.javaScriptEnabled = true |

打开AndroidManifest.xml :
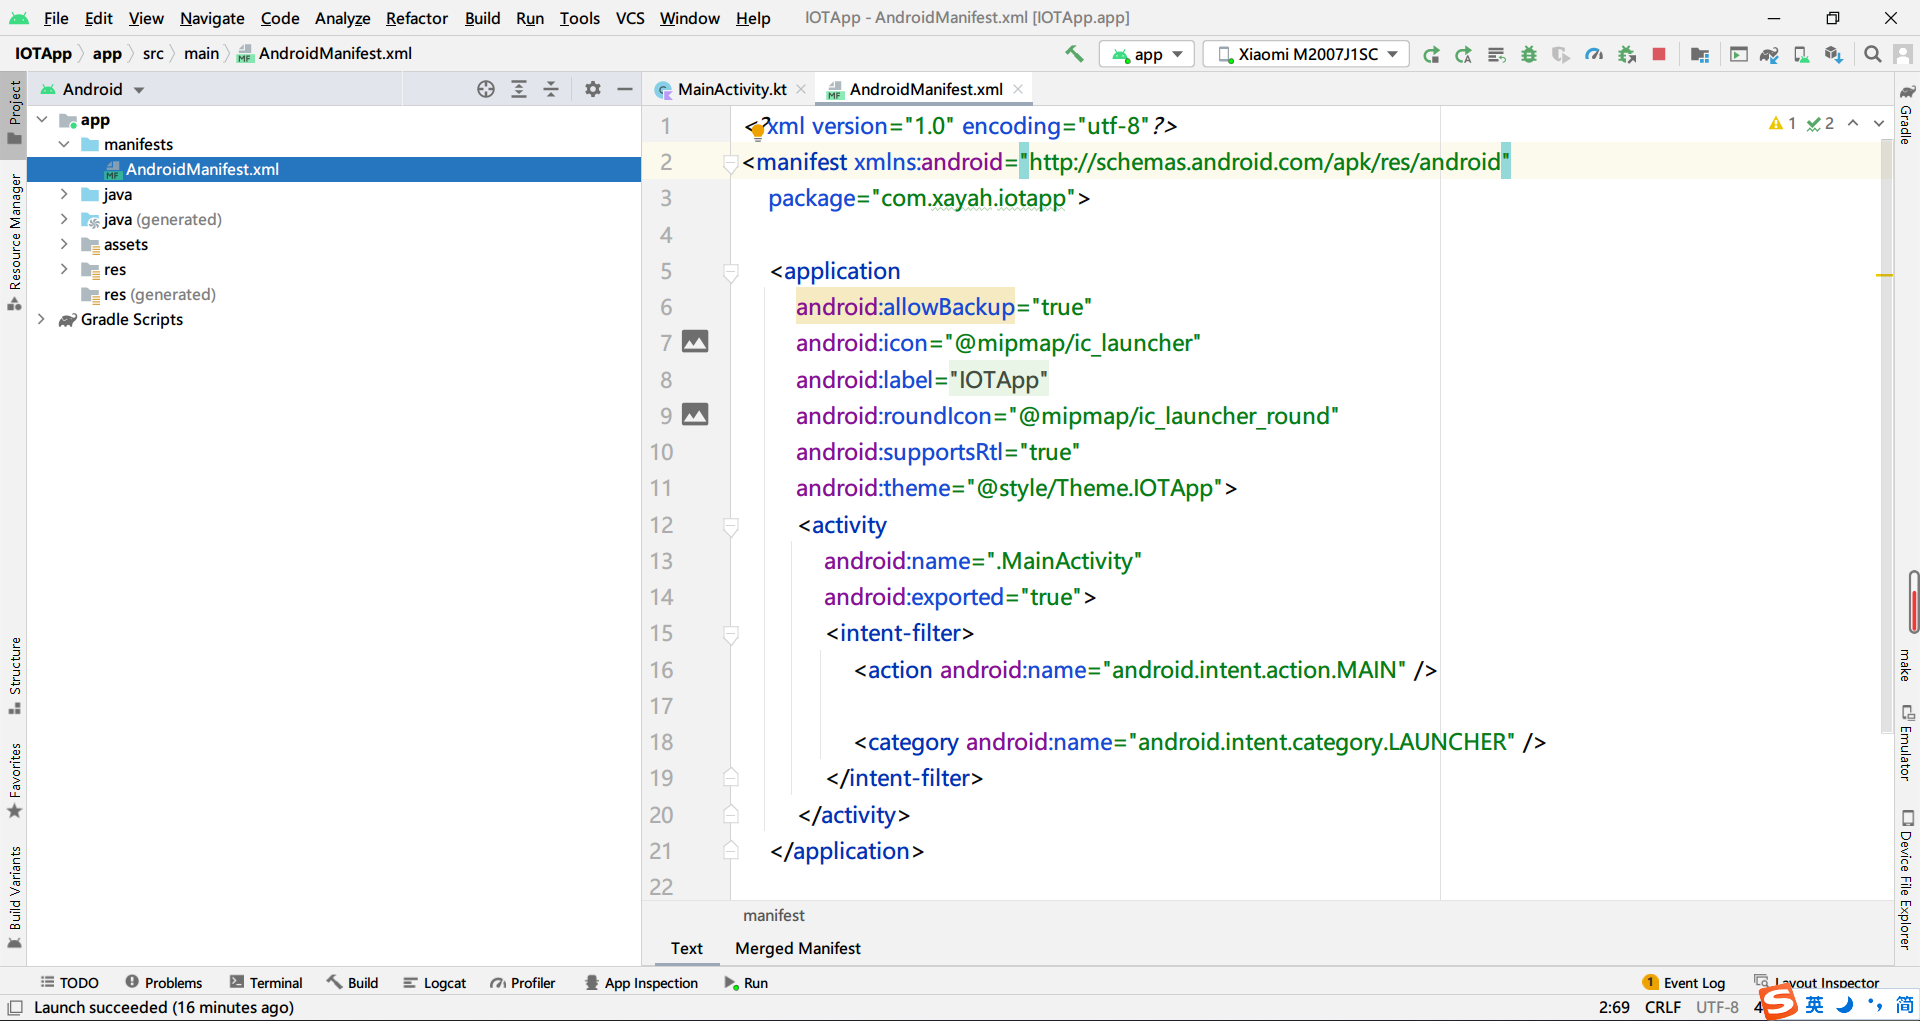
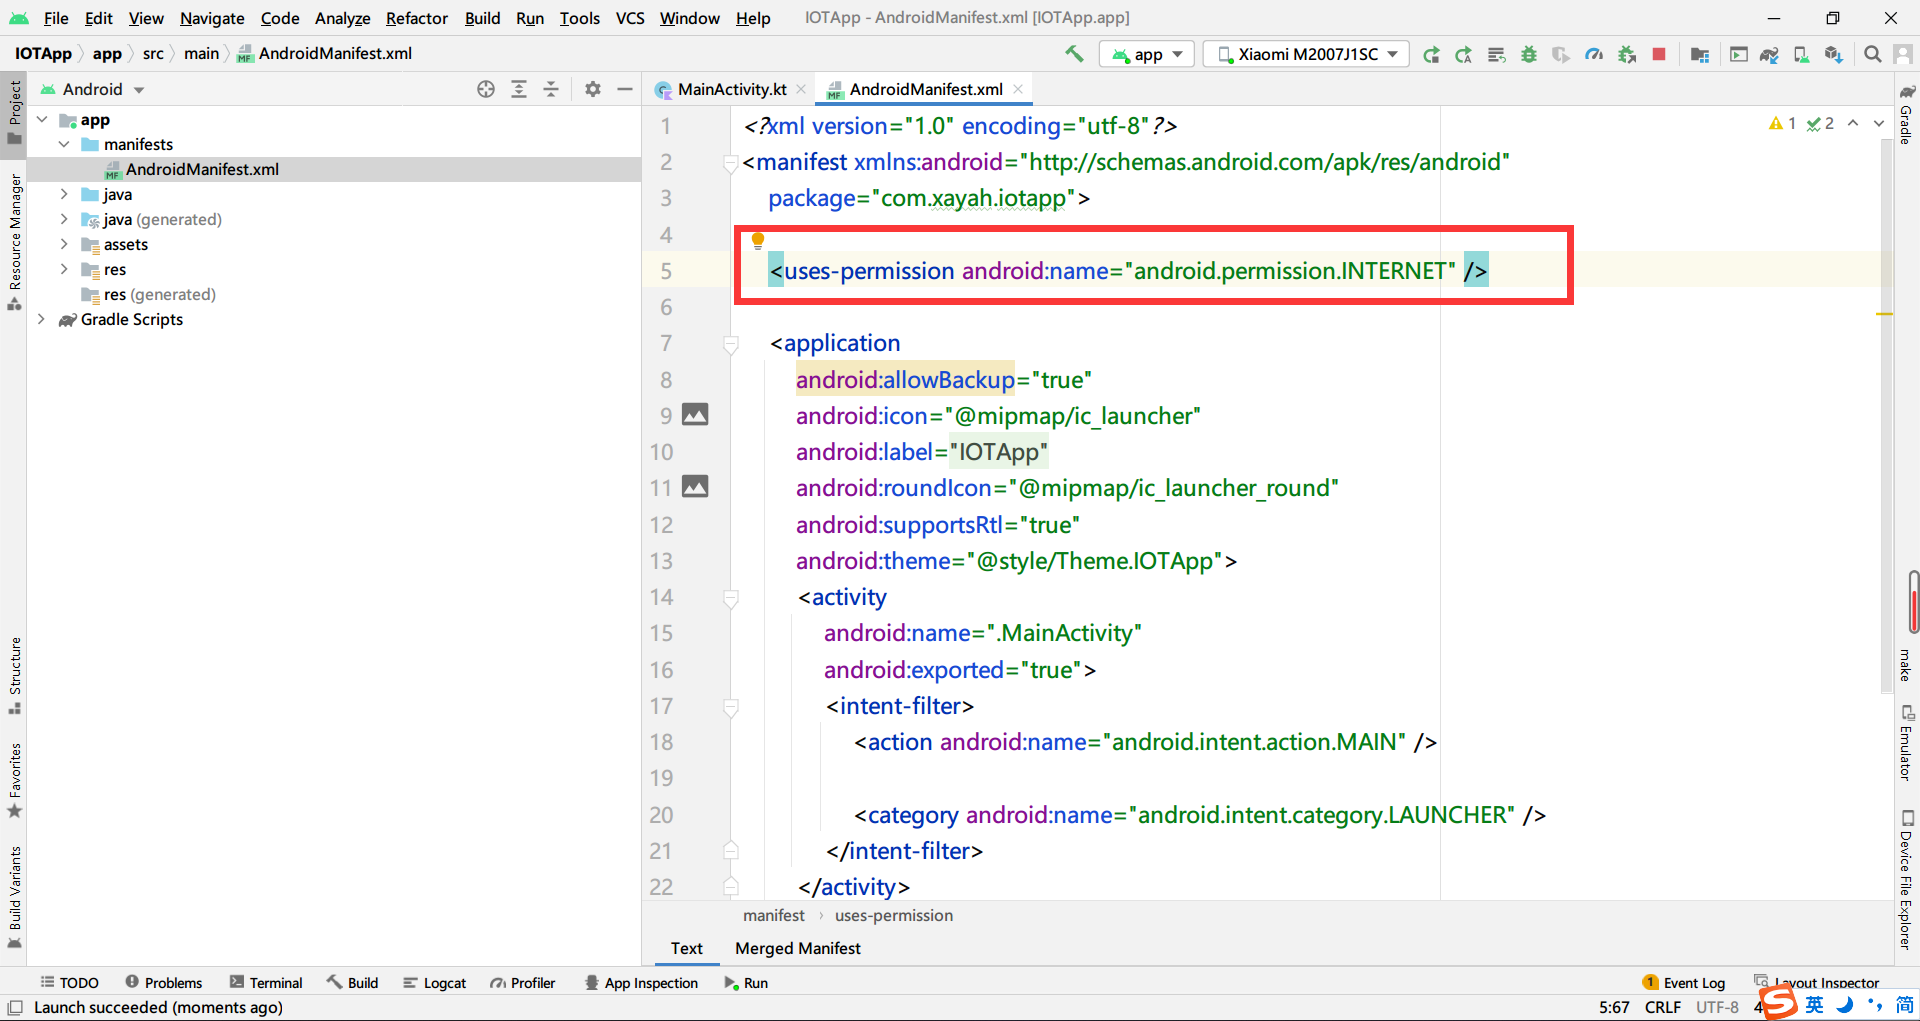
添加INTERNET权限:
1 | <uses-permission android:name="android.permission.INTERNET" /> |
8. 更换APP图标
左栏右键res - drawable - New - Image Asset
配置图标前景、背景:
Next - Finish
删除ic_launcher.webp、ic_launcher_round.webp(如果有的话)
7. 调试
1) Android调试
以真机调试为例,当然也可以使用模拟器。
真机调试需要在开发者模式开启USB调试模式。
点击右上方绿色三角形运行。

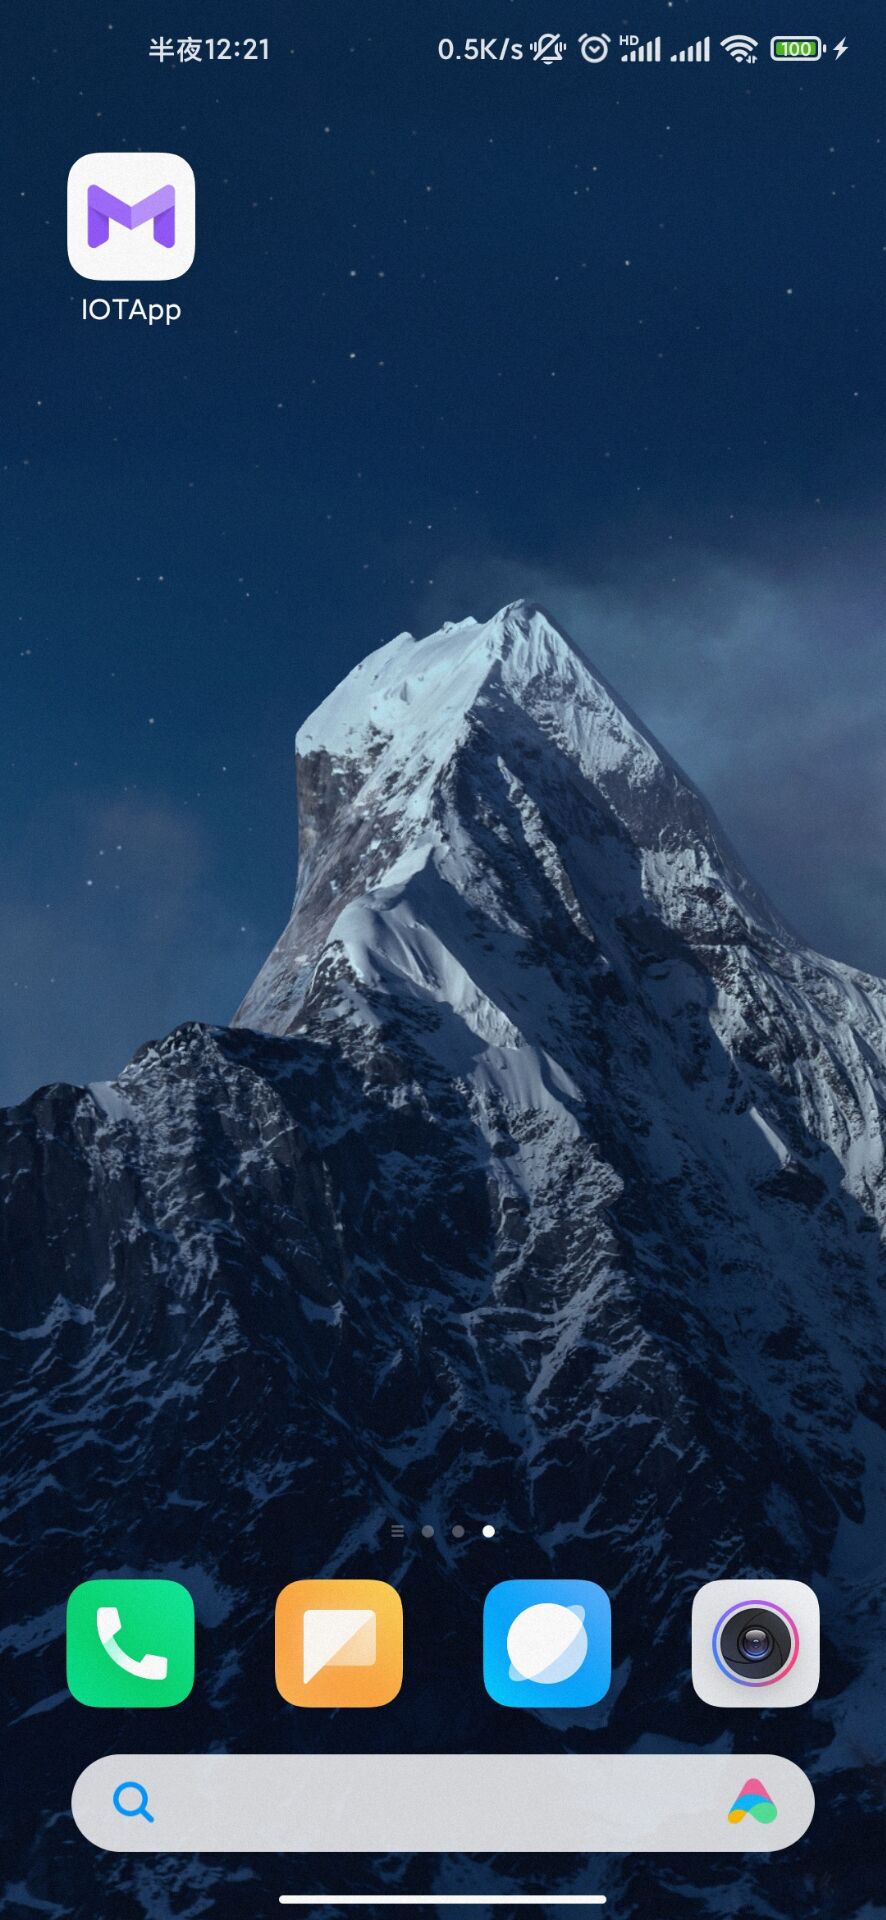
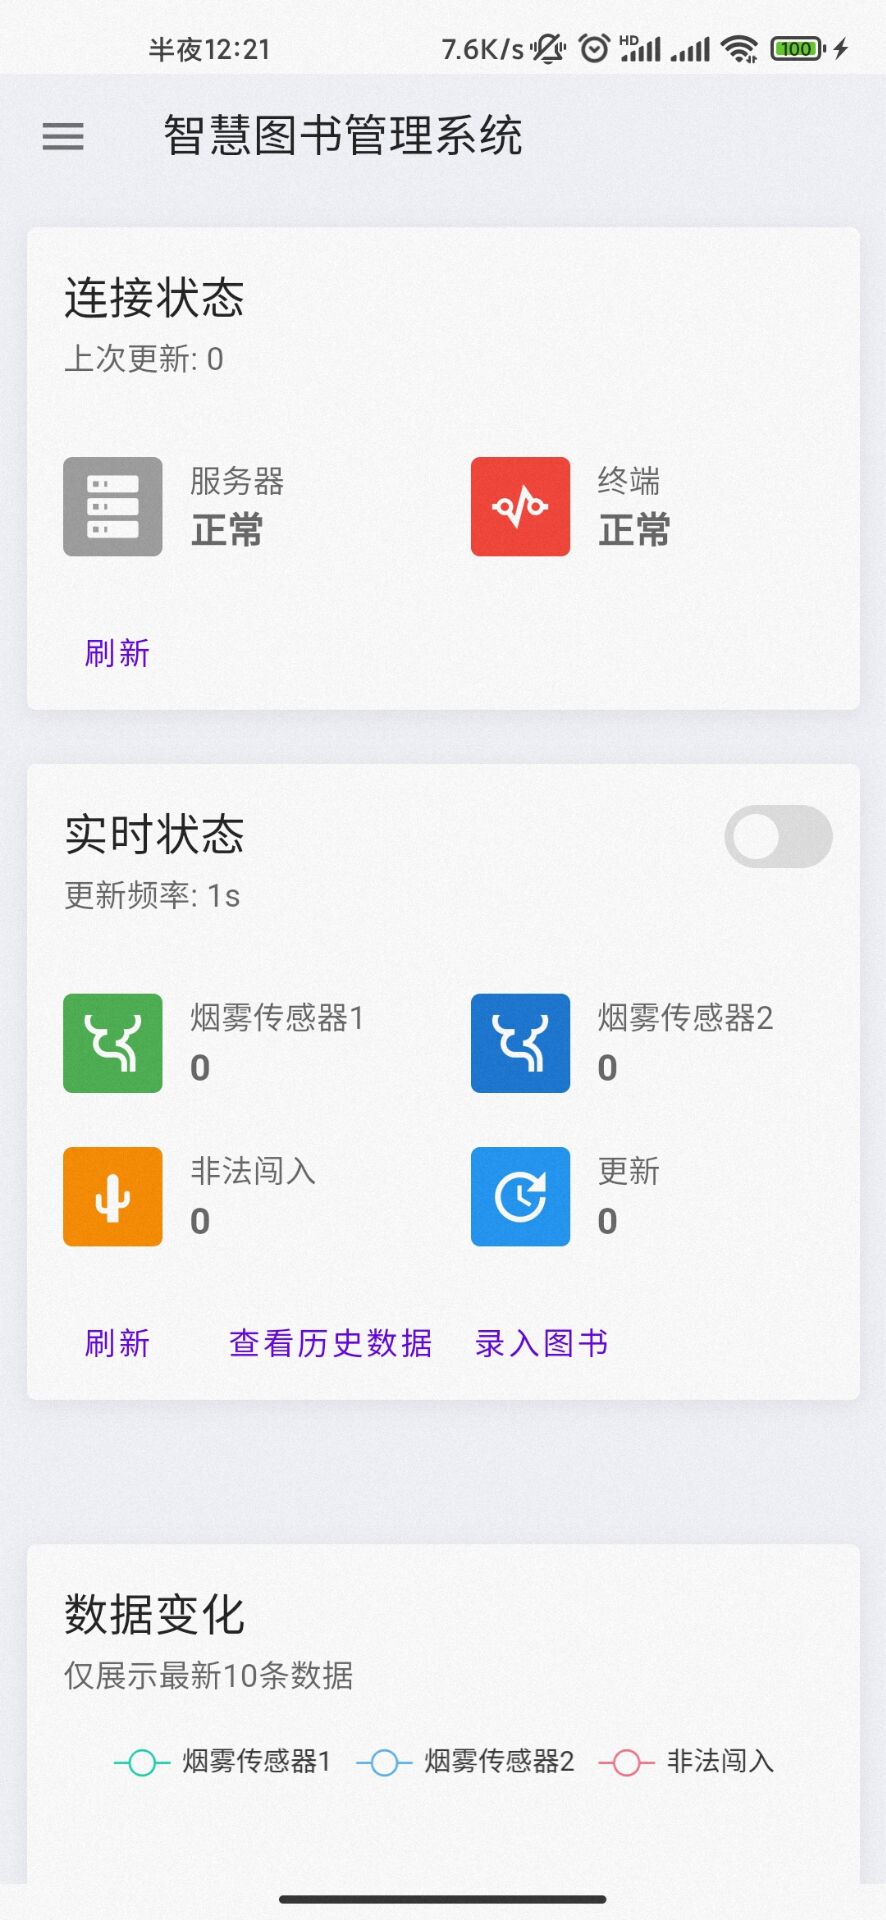
稍等片刻,会自动启动APP:
2) WebView调试
需要在开发者模式开启USB调试模式。
在MainActivity.kt中添加以下代码:
1 | WebView.setWebContentsDebuggingEnabled(true) |

重新在AS中调试运行App,打开谷歌浏览器,地址栏输入:chrome://inspect/#devices进入远程调试工具。
稍等片刻工具会自动载入已运行的WebView程序,点击inspect进入调试模式。

8. 编译并签名
点击工具栏 Build - Generate Signed Bundle / APK …

选择APK - Next

新建签名 Create new… 填写签名信息
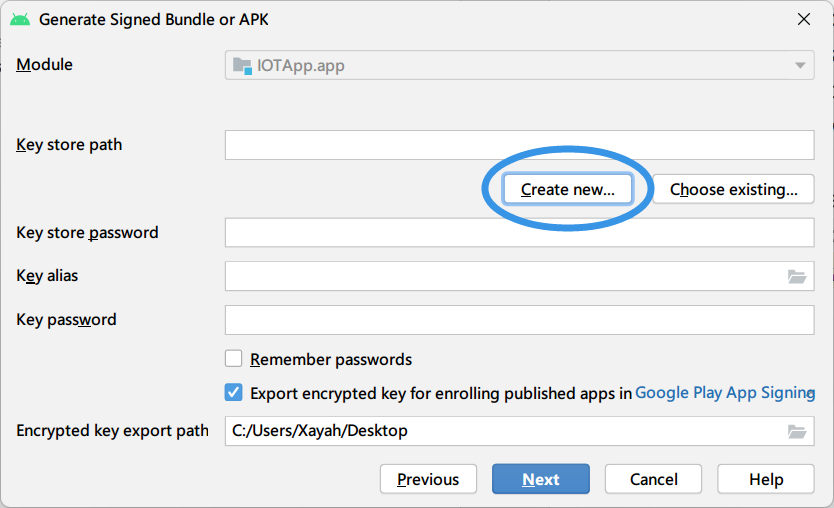
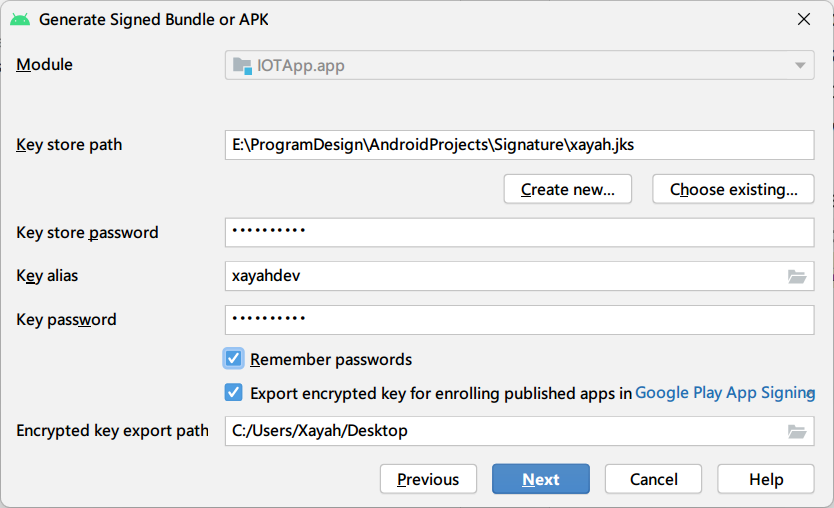
选择刚刚创建的签名文件 xxx.jks 填写对应信息后点击 Next

选择release并点击Finish
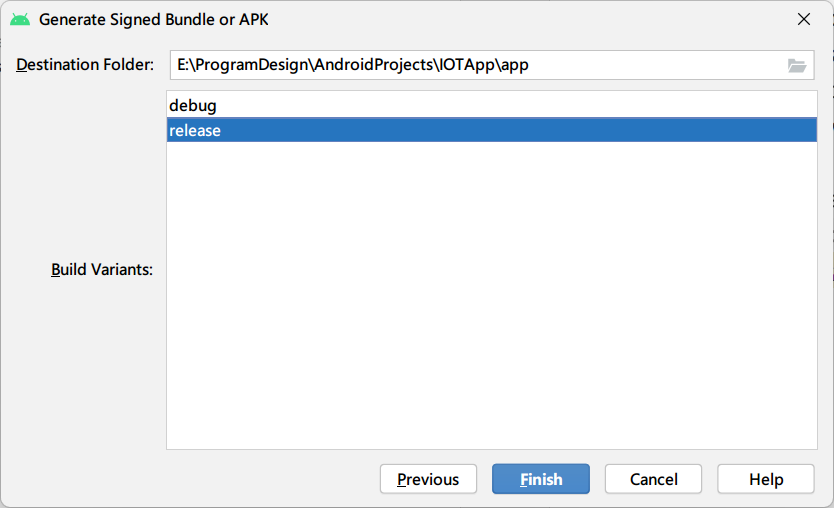
项目目录下app\release即是编译完成的apk文件。


9. 常见问题
1) 跨域
建议从后端解决跨域问题,以Flask为例:
1 | pip3 install flask-cors |
1 | from flask import Flask |
2) WebView调试出现ERR_CLEARTEXT_NOT_PERMITTED

打开AndroidManifest.xml,在application标签下配置:
1 | <application |
